How to setup account on Firmway

Firmway Customer Service
Last Update 4 tahun yang lalu
1. Update Company Profile
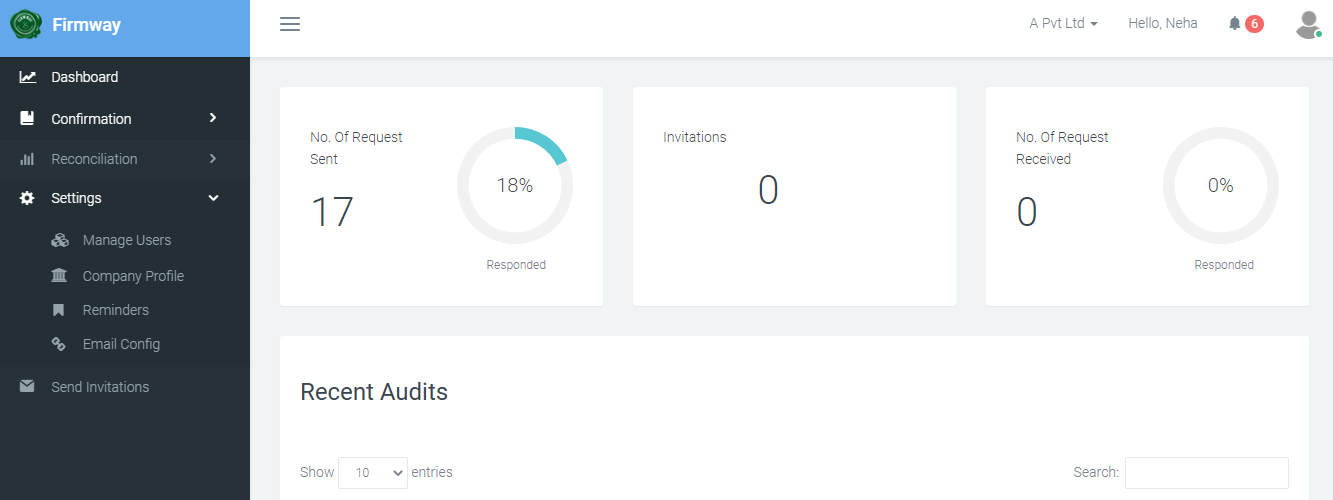
- Click on Settings from the left panel and then click on Company Profile.
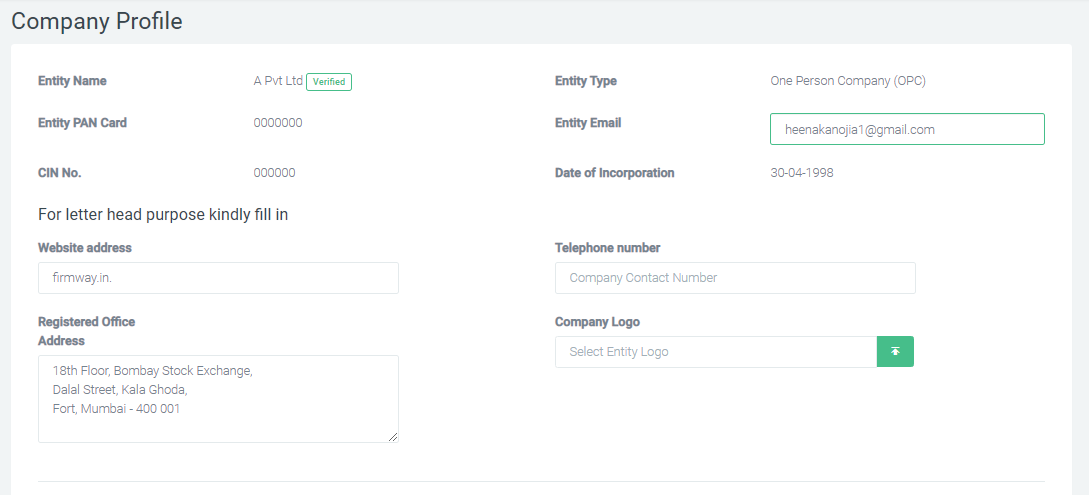
Kindly enter the following details:
- Website address
- Telephone Number
- Registered Office Address
- Company logo
Click on the Update button.
Note:
In the case of multiple addresses, you may enter both the address. eg
Regd Address - _______
Factory / Branch address - _______
2. Attached Documents.
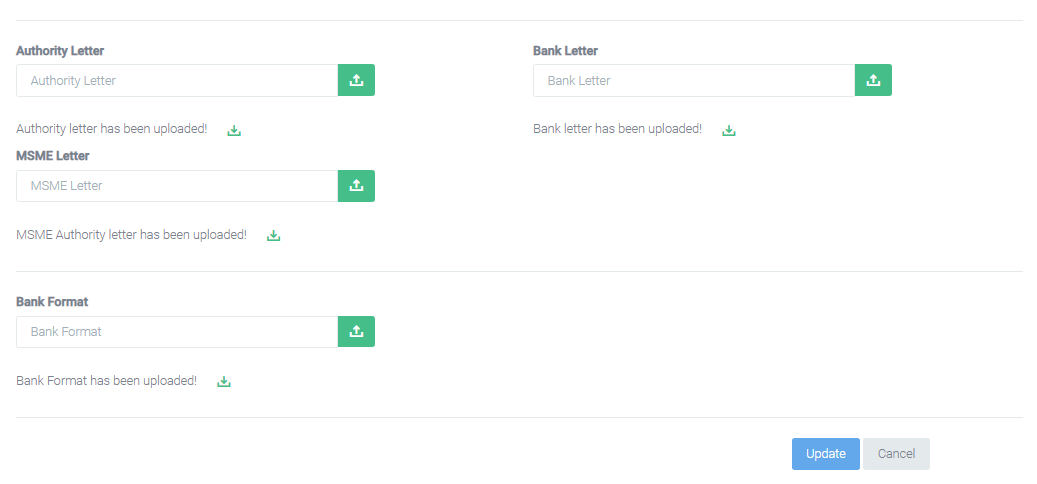
- Attach following document and the click on the Update.
| Firmway Filed | Documents |
|---|---|
| Authority Letter | Party Letter |
| Bank Letter | Bank Letter |
| Bank Format | Bank Confirmation Format |
3. Configure Email ID
Ensure the DNS settings have been completed before you configure the email ID.
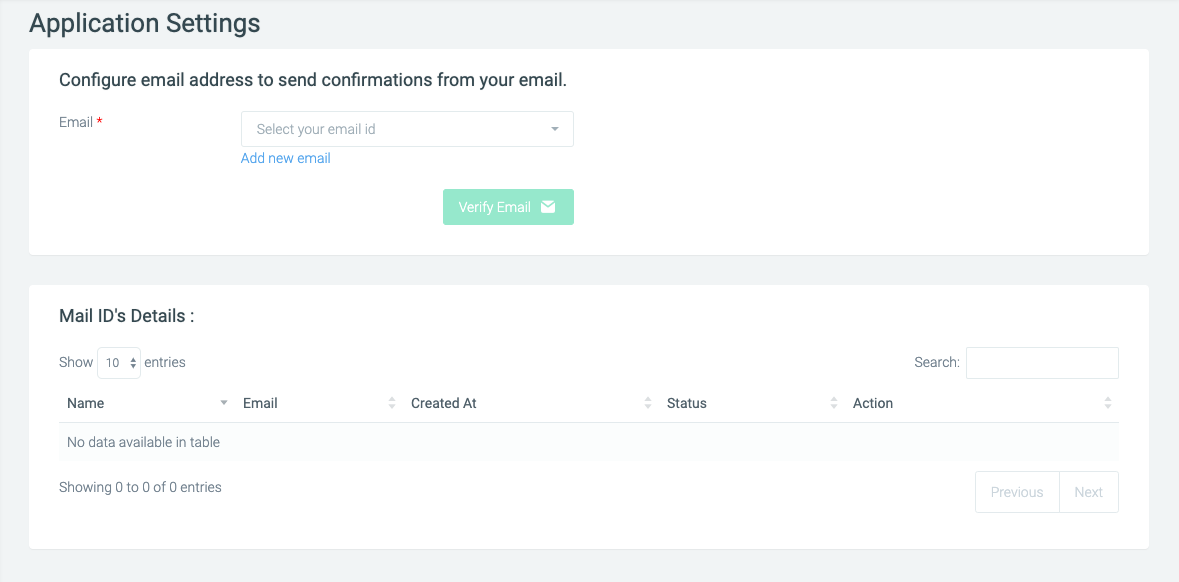
To configure an Email ID click on Settings from the left panel and then click on Email Config.

- Select the email ID from the dropdown or click on Add New Email.
- Click on the Verify Email button.
- Click on the activation link received on the email from [email protected].

Note:
The link in the verification email is valid for 24 hours after you submit the verification request. If you received the verification email more than 24 hours ago, resend your address for verification, and then click the verification link in the new email.
The link in the verification email is valid for 24 hours after you submit the verification request. If you received the verification email more than 24 hours ago, resend your address for verification, and then click the verification link in the new email.
- Click on Settings > Email Config
- Click on the Update Status button from the settings.

Once the status is updated as Success you can use the email for sending requests.